We’ve been doing a lot of work on the Bomar escape hatches lately – this will be a separate post coming soon(ish) – and I decided this morning it was time to start replacing the fly screen covers. I’ve got four to do, one in each of the second double cabin and cabin with bunks, one in the bathroom and the last in the pilot house. I think it’s going to take me a while, but as of today (4 April 2020) I’ve completed one! So, 1/4 the way there.
They say a picture is worth a thousand words (as long as it doesn’t take a thousand words to explain the picture) so in a effort to avoid writing too much, here are some pictures explaining my process.
Flyscreen cover before I started
You can see that this cover is in pretty poor shape. The screen stitching has come undone, there’s rust, and much of the flyscreen has perished.
I took off the cover and did a light sand (about 600 grit paper) to remove the rust.
I wasn’t able to find a stockist that did the same colour screen, but I did find a place that had stainless steel screen, which will probably end up being much better. This was my preference over black flyscreen, most commonly available in Australia. But it’s quite hard to work with, and I had sore and bloodied hands at the end of this!
In this photo, I’ve put in a few temporary stitches to hold it in place.
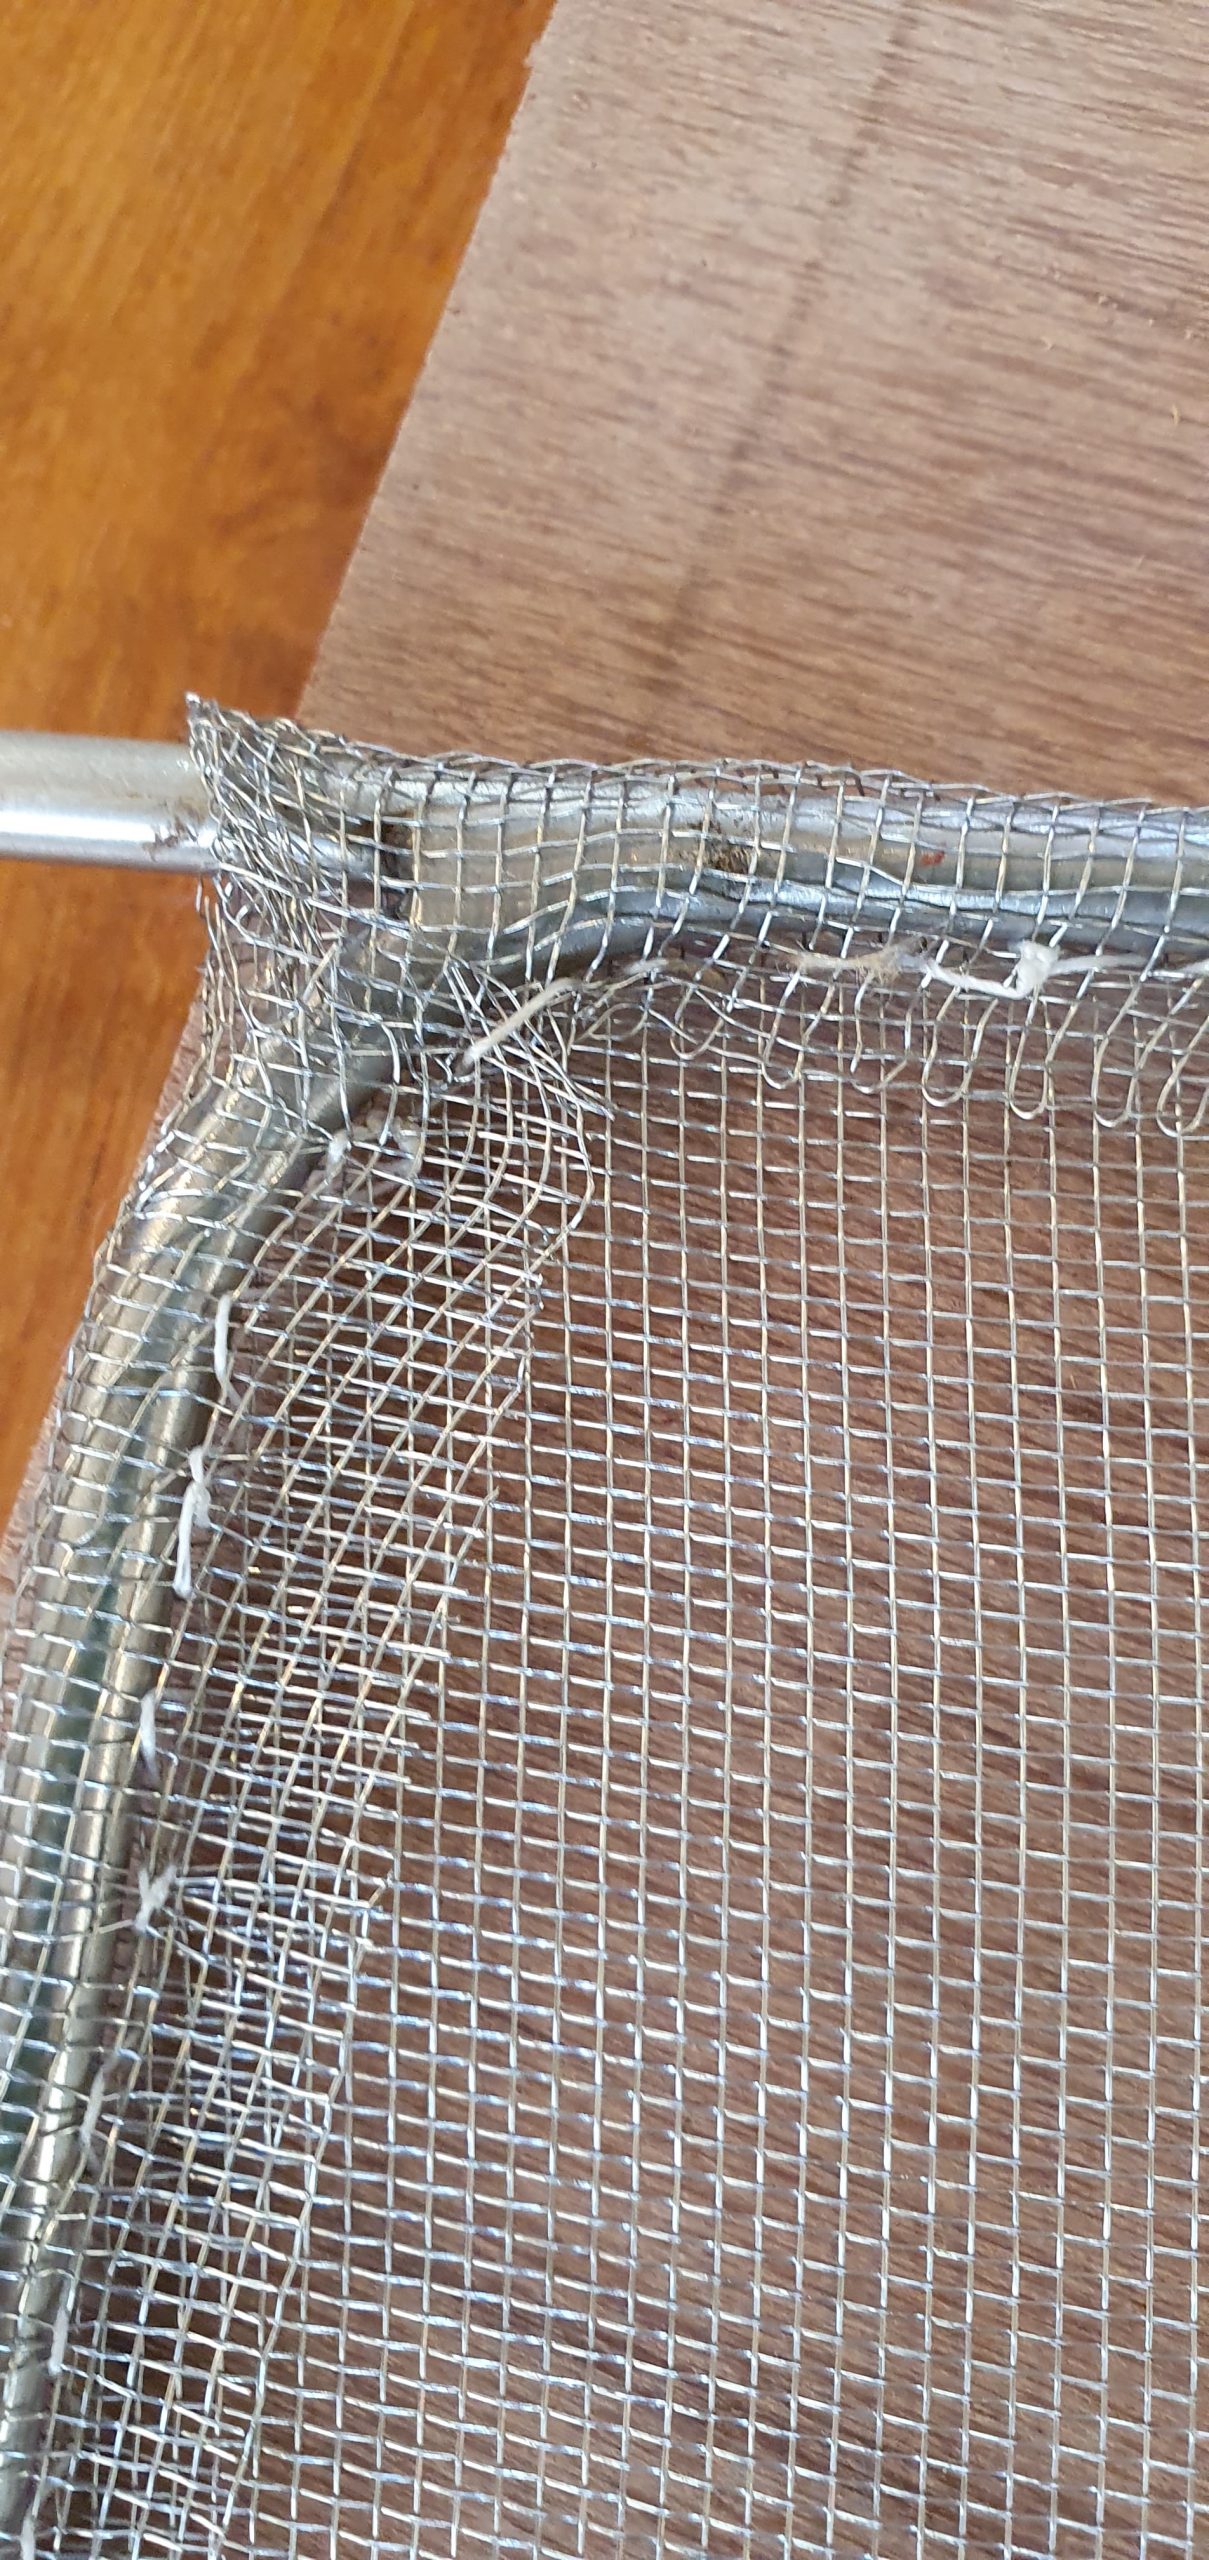
Flyscreen corner, the more challenging bit to sew
The corners were the most challenging. You’ll also see here that I hand stitched them. I have a sailrite sewing machine, that I used to replace the bimini and make a storm cover, but it would have been too hard for me (I think) to use the machine.
In keeping with my theory that it’s OK not to be perfect, I think this has worked well.
First finished flyscreen
This is the first finished screen.
Now to put it back up in the cabin.
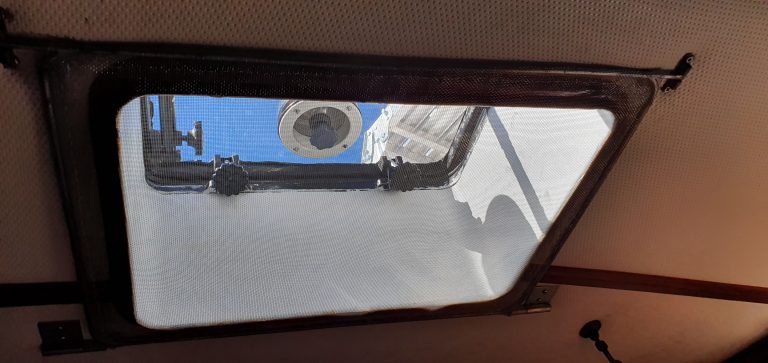
Finished!
Back in place in the cabin. It’s turned out well and certainly will help to keep flies out, and keep cats in, if we have the hatches open.
One down, three to go!
Stop press! Update as at 6 April 2020
You know when you wake in the middle of the night and come up with a fresh idea for something you’re doing? That happened to me last night and I decided I had another way to do this – slightly easier I think – and of course, the second one is always a little easier anyway. So two down, two to go.
I had two issues before, holding the screen in place and trying to sew it too closely to the metal frame.
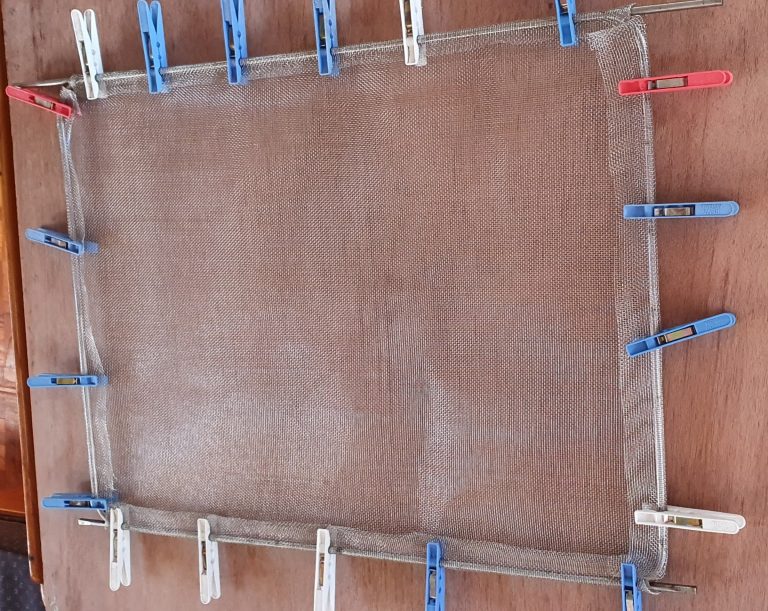
So I thought I could hold it in place using pegs. Instead of trying to sew right next to the frame I would sew just over 1 cm (about 1/2 inch) away from the frame.
I’m still sewing it by hand but it was much easier this way.
I still sew opposite sides then the ends.
The corners are better than before because I cut away more screen, and it was easier to fold/sew, especially since I wasn’t trying to get so close to the frame.
Finished product for the second cabin. I’ll keep doing it this way in future.
Will I go back and redo the first one? I’m still not sure. I shouldn’t – because it’s OK not to be prefect – but I haven’t made up my mind yet!
On 19 April 2020, I decided I needed to redo this one. When I was sewing it, I pulled the wire screen too tight and we had problems closing it.


One Response