
Is it a sign of ‘old age’ when you regularly ask “where does time go”? It’s hard to believe it was two years since we were at Gold Coast City Marina with Poseidon on the hard stand for her ‘spa treatment’, described in my blog 2022 – that’s a wrap. And yet here we are again, back on the hard stand at Oyster Cove Marina in Kettering, for our two-yearly maintenance.
While we planned to do some of it ourselves, for example, roll on new antifoul, we paid tradespeople to help us with some maintenance, tasks, for example polishing the topsides, grinding barnacles off the running gear (a very dirty job).
This blog covers the maintenance recently completed on Poseidon.
Coming out of the water - the big reveal!
Two years ago we had the hull sand blasted to remove years of layers of old antifoul, then it was primed with epoxy, followed by new antifoul. It was a labour-intensive and expensive process but we’re glad we did it because we ended up with a very good hull surface. So we were keen to see how well the antifoul performed over the past two years when we were lifted out of the water.
And we were really pleased to see that there was minimal growth on the hull, except directly under the keel and it became evident that this hadn’t been antifouled before (not sure why), and there was some growth on the propellers, shafts and rudders that had previously been antifouled using Prop speed.
Replacing rudder shaft seals
When we were last on the hardstand (Gold Coast, 2022), we had the propeller shafts serviced. At that time, the rudder shafts were also inspected. They were obviously leaking more than normal and showing signs of rust. Several important bolts were corroded/broken and getting it all fixed was going to require some serious specialist skills.
The consensus amongst the trades seemed to be that a full service would be required at the next opportunity, and doing this was one of our major objectives in Kettering. In the Gold Coast, there are a number of engineering firms set up to do this sort of work… not so many in Southern Tasmania as it happens! After much searching/contacting trades, we finally identified a company called Spectrum Engineering who could do this sort of work.
They mainly focus on commercial work (fishing fleets, cargo ships, and so on) rather than recreational boats but fortunately August is not their busy period and we were able to book them in. Three days’ work in total (by a very skilled trade) resulted in a complete rebuild of the rudder post supports as well as replacing the original dripping shaft seals with a newer dripless seal design. They were also able to correct a longstanding fault in the rudder arm arrangement so that we now have the same number of wheel turns port to center to starboard.
They also prettied up some of Robert’s ‘Macgyver-ing’ where he’d added new rudder indicators along the way.
Polishing the topsides
It’s a big job polishing the topsides, the extensive white fibreglass area between the deck and water line. It involves cleaning boat with an acid-wash solution then using different compounds to cut and finally polish it, mostly done while holding your arms out or above you. So we decided to pay someone to do this job!
We’ve always struggled to keep the topsides clean from the streaky ‘tannin-type’ stains appearing below the scuppers – where water drains from the deck – after rain. Clearly this also annoyed Sam who was polishing the topsides for us, because after the acid-wash it subsequently rained and streaks reappeared! He dealt with this by running some tape along the edge of scuppers, extending them out about an inch or so, meaning any rainwater would drip our and away from the hull, instead of running directly over the scupper and hitting the sides of the boat.
This worked really well and got us to thinking of a more permanent solution. I mean, blue tape stuck along the edge of the boat wouldn’t last long and really didn’t look good! I decided to try some clear vinyl and double-sided tape from the local hardware store. I cut strips of vinyl and stuck it down with the double-sided tape. Trust me you want to get this right the first time as I don’t think this tape is ever coming off!
This has been a great solution – subtle, simple, cheap – and it is very effective! But importantly, the polished top-sides look fantastic again.
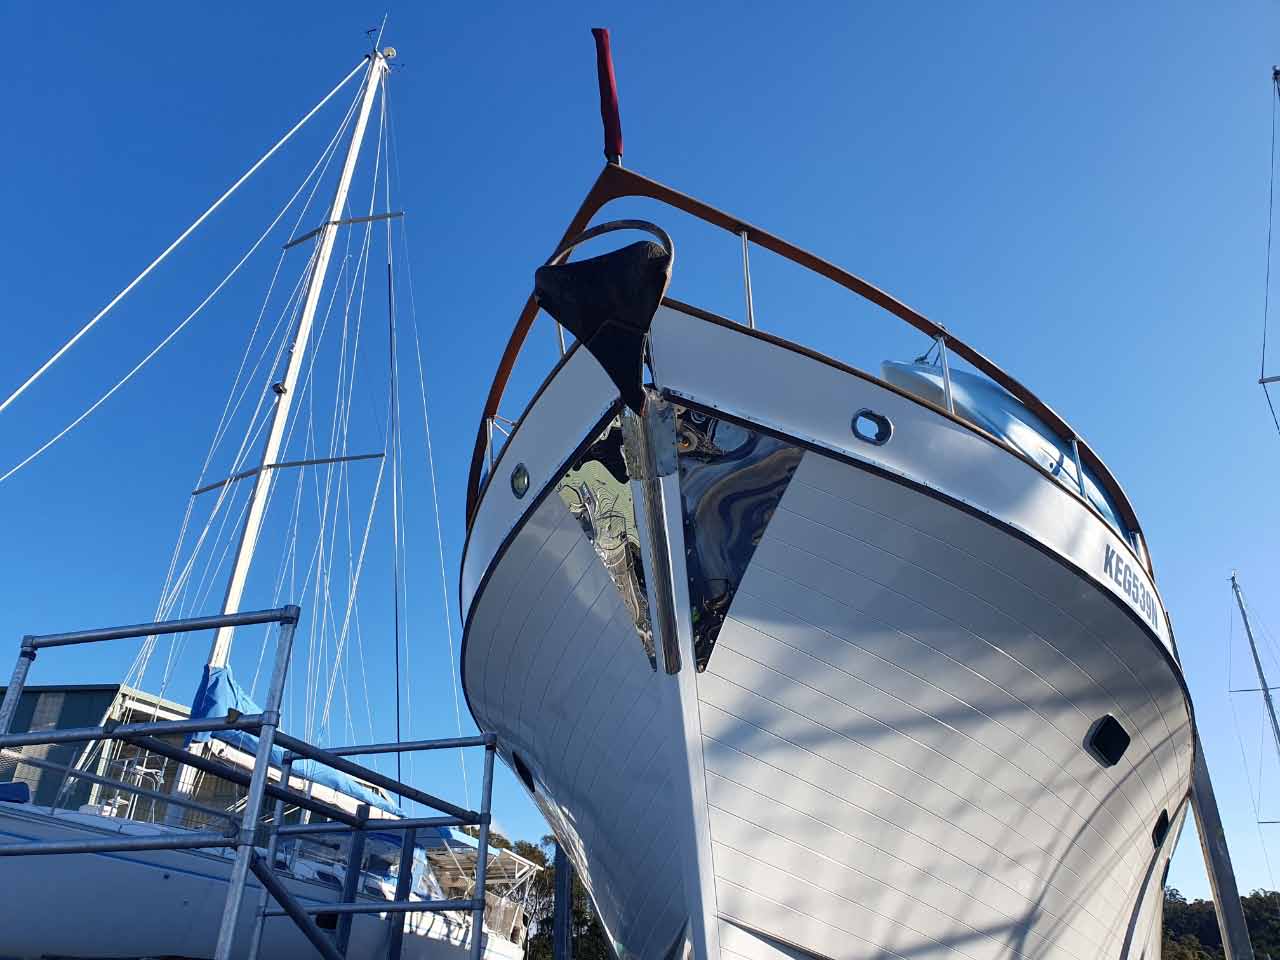
Protecting the bow when anchoring
When you’re anchoring, the anchor can swing and you run the risk of it hitting against the boat. There had previously been damage to the bow and we were looking to get a new anchor bash guard/bow protector to both help mitigate damage and cover the previous damage (which had been there since we bought Poseidon).
While not so obvious from the photos, this is a complicated area to cover with stainless steel due to the different angles to get a good fit. Also, the old bash guard was well secured (especially after 44 years) and we couldn’t remove it. The time required to create a pattern for this was estimated to be more than the time to actually make it (charged at an hourly rate) so we struck a compromise. Robert patterned the triangular pieces either side of the bow, and the fabricator created a simpler curved piece for down the middle. While it isn’t initially what we’d planned, I think it is a good compromise and time will tell how well it performs.
In addition, we had some damage to the teak surround of the seat on the flybridge, so we also had a stainless steel piece fabricated to cover this and a matching piece for the other side to ensure it looked consistent.
Changing the colour scheme around the bow
The outside section around the bow has always been dark blue with white registration letters. While we liked this colour, as the blue paint degraded, you would only have to touch it and the blue would stain your hands and anything else you came in contact with. So we decided on a change! This involved the following steps:
- Me removing the white registration letters with a razor blade – time consuming and quite tedious!
- Robert sanding, filling, and resanding rough sections around the bow – more time consuming than the previous step.
- Robert painting the first undercoat (then he got busy so I took over).
- I painted/rolled two more coats of undercoat, with some light sanding.
- I painted/rolled two coats of Norglass Weatherfast Premium Enamil (satin) paint. We chose satin because it’s a bit more forgiving than a gloss paint.
- We then got new vinyl registration letters applied, slightly smaller than the previous letters at 150mm, but still the required size.
You may be wondering if the white paint will degrade in the same way? Firstly we don’t think it will (based on previous experience with this) and secondly I don’t think it will be as messy as the blue was. Also, we hired a scaffold for the time we were on the hard stand and this made it much easier to climb up and down to do the work.
Installing a new hot water system
Hot water is one of those essentials we tend to take for granted in a land home but turns out to be a whole lot more complicated on a boat, for three main reasons:
- Power is limited and heating water consumes a lot of power
- Space is limited so tank size becomes an issue
- Installation is more complicated as most marine hot water systems include a secondary heat exchanger plumbed into the engine
When our existing hot water system started showing signs of corrosion/rust and some water slowly leaking under the base, we knew that replacing it was important and probably a bigger job than expected.
Our existing tank was listed as a 12-gallon capacity, so we sourced a new Raritan 12 gallon system while in Hobart on a like-for-like strategy. Unfortunately, shrinkflation isn’t just at the supermarkets and it tuns out that a modern 12 gallon tank (with heat exchanger) is actually rated at 10 gallons! It seems that the (optional) secondary heat exchanger takes up tank capacity of the (default) no-heat exchanger version…and they didn’t want to rename the model just for that. Reminds us of the old “is a foot long subway12 inches long” debate.
In any event, while the new hot water tank was definitely a good thing, it just fell slightly short of the amount of hot water we were used to using. This was mainly an issue for showering. Where previously we would both be able to have a reasonable length hot shower, the new system would start to go cold and that’s pretty annoying during winter in Tasmania. The solution was to install a small (point of use) hot water tank, which we located in a cupboard near our forward shower. We decided on a Duoetto MK2 system. This is a 10 litre tank that can be run on either 12 volts or 240 volts. It’s plumbed “in series” with the other tank, essentially meaning that its cold water input is the hot water output of the big hot water tank, but located close to where it’s used (the shower and forward vanity). We’ve installed this to run on 12 volts (to help with the power usage) and so far it has been a successful addition. As well as giving us back the expected hot water usage, it has the added benefit of reducing the amount of water we used to waste while waiting for the shower to heat up (although we would always collect this in a bucket and use it to flush our fresh-water toilets). It also comes with a new water temperature display so easy to see that its working before risking stepping into a cold shower!
Striking a balance for teak maintenance
Ever since we’ve owned Poseidon, we’ve been trying to strike a balance for maintaining the teak that keeps it looking good, is easy to apply, and not too labour-intensive. This section discusses some of the options, and we’ve opted to use a combination of mostly Semco and a little bit of Deks Olje for some sections.
Varnish
This extract is from the blog of part-time cruisers who maintain their teak by using varnish. “The secret is multiple (and I do mean multiple) coats of varnish. We started with 10 coats after we stripped it to bare teak. Then twice a year or so, we add 2 more coats … before it needs it.”
There’s no doubt about it, teak with a mirror-finish looks amazing. But given all the rails we have to do, it’s just too labour-intensive for us!
This image is NOT Poseidon and is only included to show you how good it can look if you’re prepared to go down this path.

Weathering naturally
We’ve tried leaving the teak to weather naturally, but then it always seems to get a mildew in the surface, starts to look really dirty and grey and isn’t appealing.
Deks Olje product
Years ago we found a product, Deks Olje, and started using it. You apply Deks Olje #1 until the newly cleaned/sanded teak is saturated. Then you wait about 3 days and apply 6 coats of Deks Olje #2, one coat a day with a light sand between coats 5 and 6. The result is ‘similar’ to varnish. Then once done, you maintain it with a light, wet sand with #1 and then another coat or two of #2. While the result looks great, the Australian sun is not kind to it so again we faced a lot of effort (and expense) with maintenance. I made covers to protect the rails but this kind of defeated the point of having good looking teak because no one saw it! And of course, removing the covers and putting them back after a trip out on Poseidon just didn’t happen.
While we’ve abandoned the idea of doing all the cap rails with this product, we are continuing to use it on some sections of our boat, such as the transom and around the windows.
Semco
Our new approach is using a product called Semco and you can read about it here.
When we were in Melbourne I used the Semco Cleaning Kit to clean the teak chairs we keep on the aft deck and then I applied Semco Honey Teak Sealer. We’ve subsequently been applying these products to the cap rails and area around the flybridge. In the cleaning kit there are two parts. Part A removes dirt, grease and grime from the surfaces and is a critical step if you’re going to apply teak sealer. Then Part B brightens the teak and neutralises Part A. The teak sealer creates a water-resistant layer and restores and promotes the teak’s colour.
I admit the results are nothing like varnish nor as good as using the two Deks Olje products, but the result we’ve achieved looks acceptable, works really well as water just beads on the surface, and it is very easy to apply. I redid the deck chairs by giving them a light clean and another coat of Semco Honey and they look great. Now to write up a maintenance schedule!
Applying the antifoul
Given the good condition of the hull, we decided we would apply the antifoul ourselves. We’ve done it many times before and work well as a team. I generally do the cutting in and under the keel using brushes and narrow rollers. Robert does the bigger areas with wide rollers on a pole, making it a little less back-breaking!
Once again we used two different colours of antifoul, the first coat is black and the second coat red. This makes it really easy to see where to apply the second coat. I recommend everyone who applies their own antifoul do this!
While we did the hull, we paid for the running gear to be antifouled, this time in black and had the props finished with prop speed again.
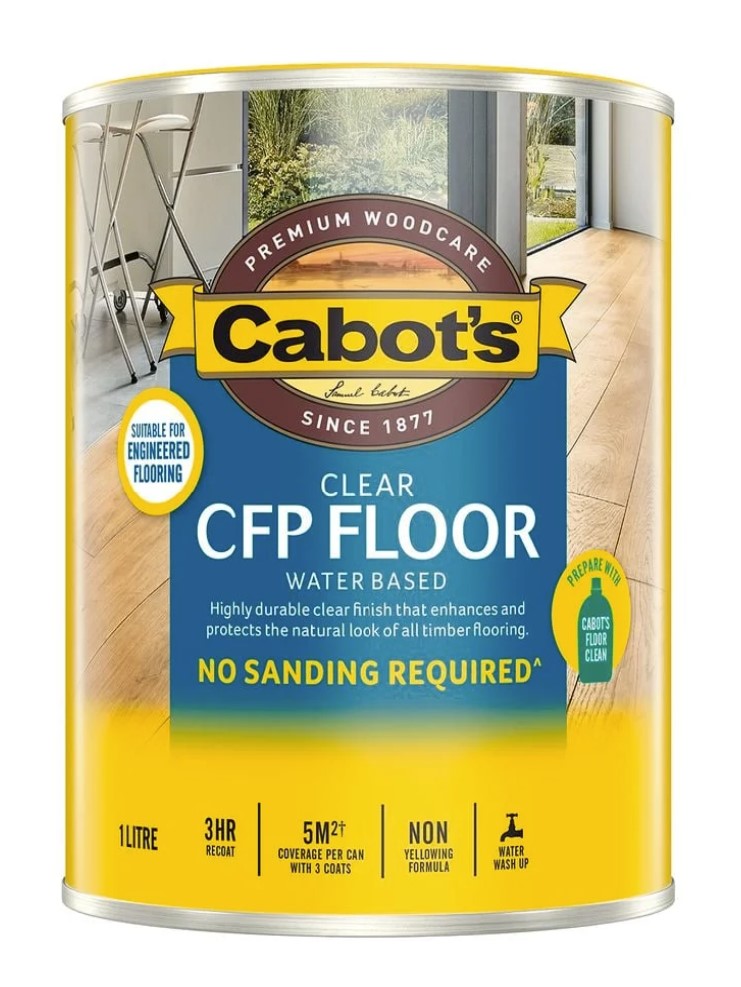
Oiling the cabin floors
For most of the time we were on the hard stand, the cats were at a cattery and we stayed at a nearby cottage. So I decided to take the opportunity to refresh the oil on the parquetry floors in the cabins.
I use Cabot’s CFP Floor oil and note, no sanding is required! Of course, I vacuumed the floors before oiling them and as you can see, the result looked great.
But then we bought a new vacuum cleaner with laser technology that shows all the dust (and hairs). It was a shock…there there must have been cat hair in the air that subsequently settled on my newly oiled floors and dried into the surface. So I’ve been spending a lot of time with a razor blade trying to lift out the hairs that were everywhere! The other problem with this technology is that even though I vacuum regularly (like every second day) there’s always dust and hair visible. The pic below shows an example. One friend suggested I tape over the light – this might save my sanity!
Going back into the water after two busy weeks
After two very busy weeks it was time to go back into the water. The wind was picking up and the marina staff decided they’d place us in bow first – and a first for us – as we have always been dropped back in the same way we came out. This made exiting the channel area much easier! We then headed back across the channel to Bruny Island to spend a night on anchor.
Wrap up of our two weeks
We chose Oyster Cove Marina at Kettering because we’d heard many positive comments about the quality of service there, and this was true. For the entire time, the trades worked with us keeping our schedule running smoothly despite some days of drizzle, which prevented outside jobs being completed. There was just one time where we were let down by a tradie not showing up, despite email and phone communication confirming their attendance. We don’t mind that people are busy, but prefer they just told us they can’t make it.
However, overall we would highly recommend this marina.

A valuable service provided by Long Black Jack and there muesli cakes were delicious. They also knew our coffee order after a couple of days!
Some important jobs after being on the hard stand
We had been having problems with our anchor windlass recently, nothing that a few taps with a hammer wouldn’t fix, but not a tenable solution for much longer. Also, it had stopped us wanting to spend too much time on anchor due to the uncertainty of whether the windlass would work.
So Robert dismantled the windlass, cleaned all the components and installed a new motor. He also took the opportunity to fix an area of rotten wood, I polished the stainless steel, and he reinstalled and painted the housing. This was all looking so good, that I painted inside the bow (under the teak rail) and Robert repainted the deck surface with Tredgrip paint, which is a rubberised non-slip coating. Then I made a couple of new covers for the flopper stoppers as the previous ones were made with repurposed fabric and it was starting to perish in the sun.
We can also confirm the new windlass is working, with no more need for a hammer!
Where to next?
We’re spending some more time back in Hobart before planning our next passage. It’s unlikely that we’ll head around to the west coast, due to weather conditions not conducive to making the passage in our boat. So stay tuned for where we go!
6 Responses
The teak looks wonderful, Pam
A great and interesting read Pam! You both deserve a rest after all that hard work. Looking forward to seeing where you end up next.
Good as new! You two are amazing what you continue to achieve. Now take the time to enjoy the pleasure of your ocean adventures.
WOW and Congratulations to you both for your wonderful attention to detail and maintenance!
May
Well, now you certainly need a holiday!
The boat must look fantastic and leave you smiling when on board.
Enjoy every minute. Can’t wait to see where you go next.
Rob & Chicka
Wow! A lot of work Pam, but great to see how committed you both are to maintenance. 👏🤗☕️☕️
It’s so important to keep on top of things.